The Knowledge Base
|
The Advanced Resource Technology Group: The Knowledge Base |
ART LINKS:
- Home - Data Repository - Knowledge Base - Resources - Research - Publications - Education - Software - People - Links - Policies - Contact Us 6/19/02 |
Hillshade: InformationProcedures | Knowledge Base | Back IntroductionThe hillshade process in ArcView can cause an inverse perception of depth if the azimuth, color ramp, and brightness theme are not chosen correclty. In ArcView 3.2, the default hillshade assigns a color ramp that makes it appear as if the sun is on the opposite side of what you specified as the azimuth. In this example we have applied the default hillshade to a cone (Figure 1) and to a Digital Elevation Model (DEM) of the Sierra Vista Ranger District (SVRD). The examples displayed below provide a good reference for those who are unclear about what azimuth, color ramp, or brightness theme to use.
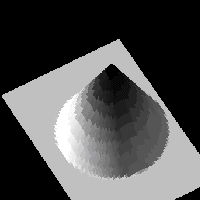
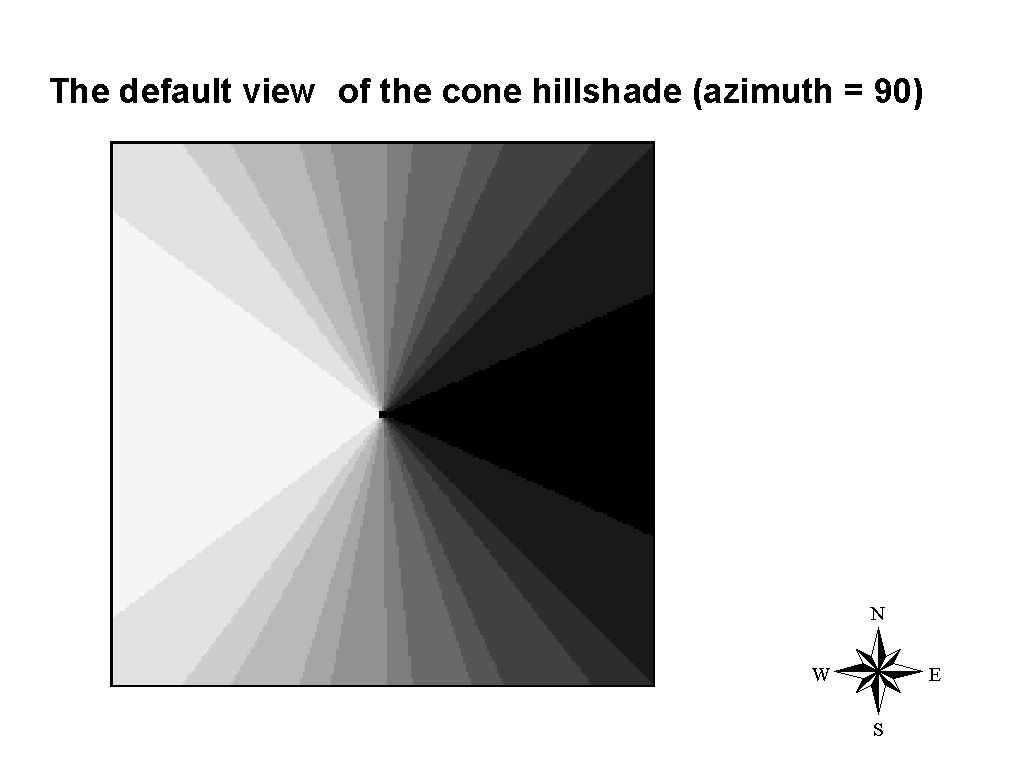
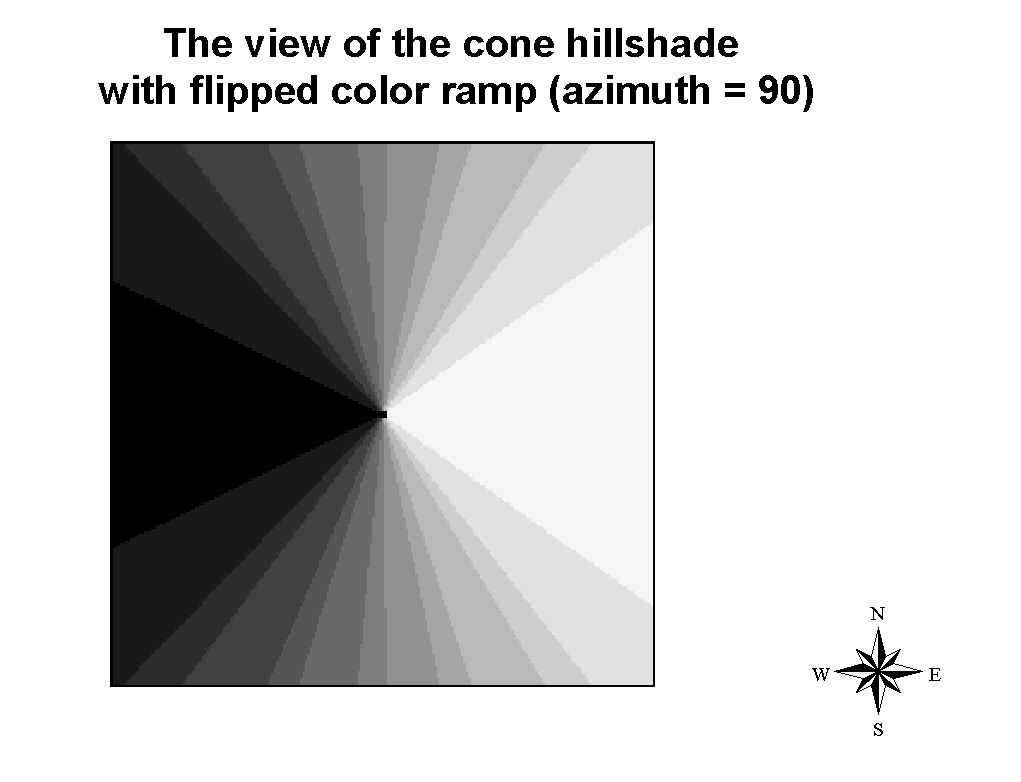
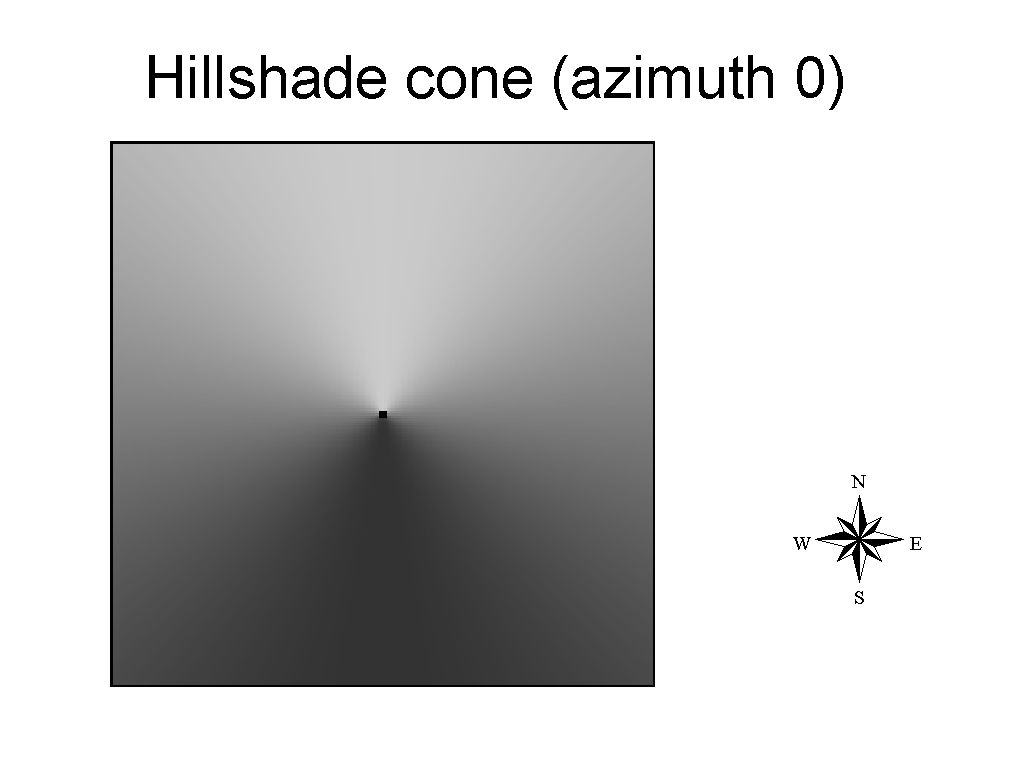
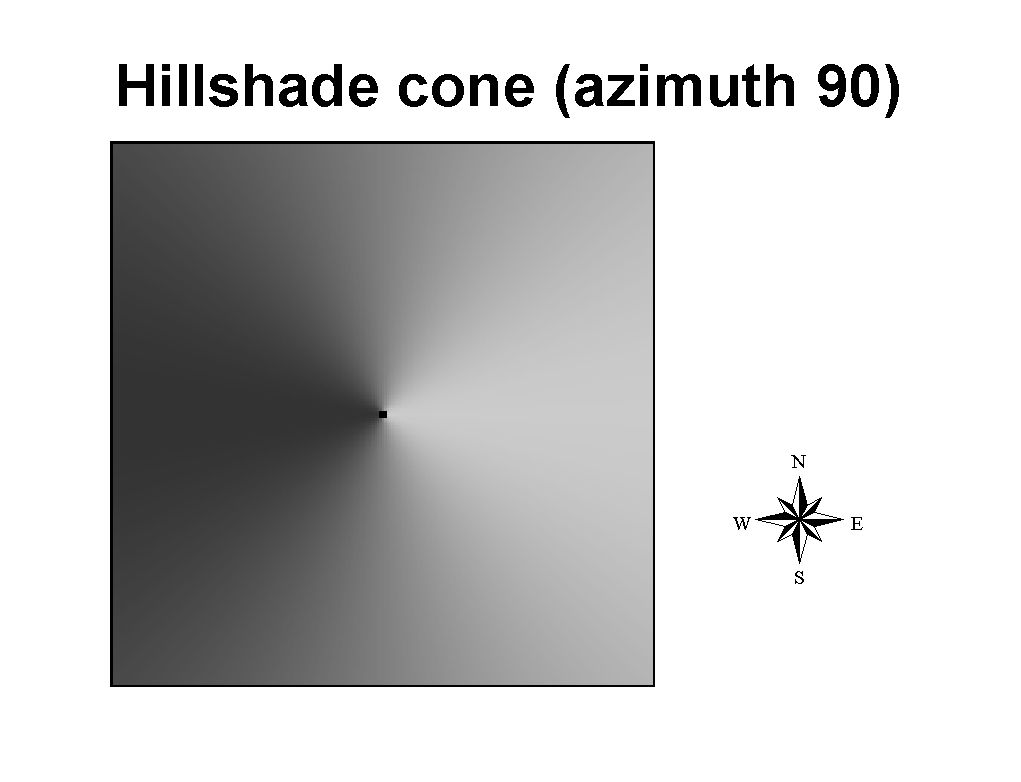
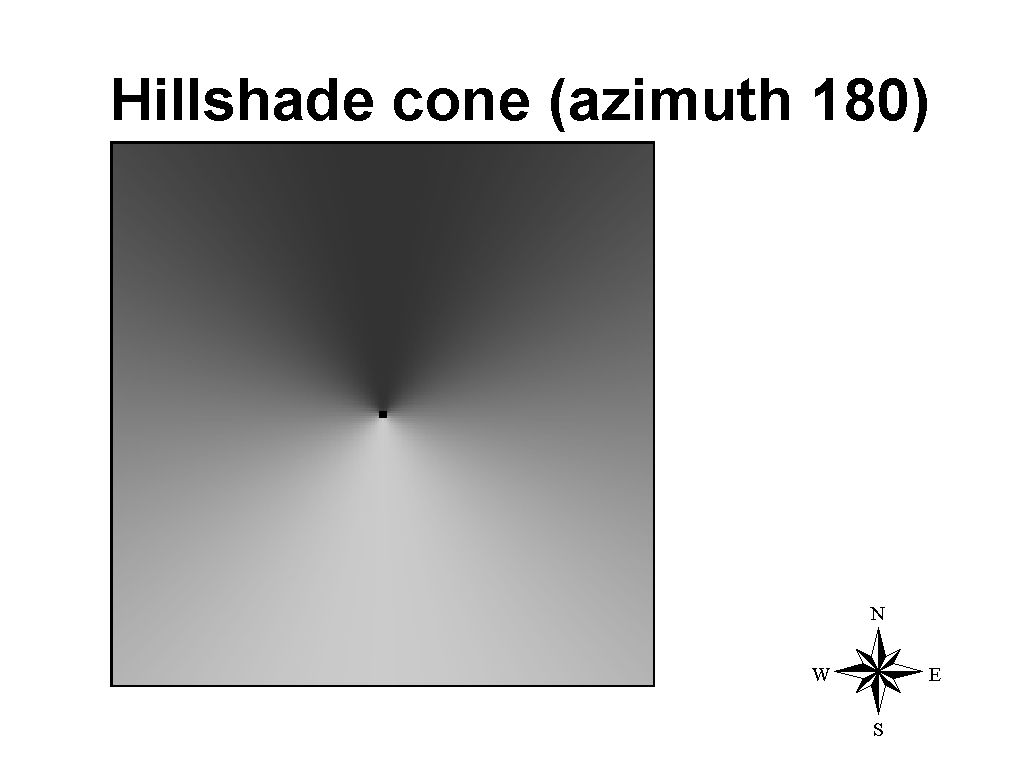
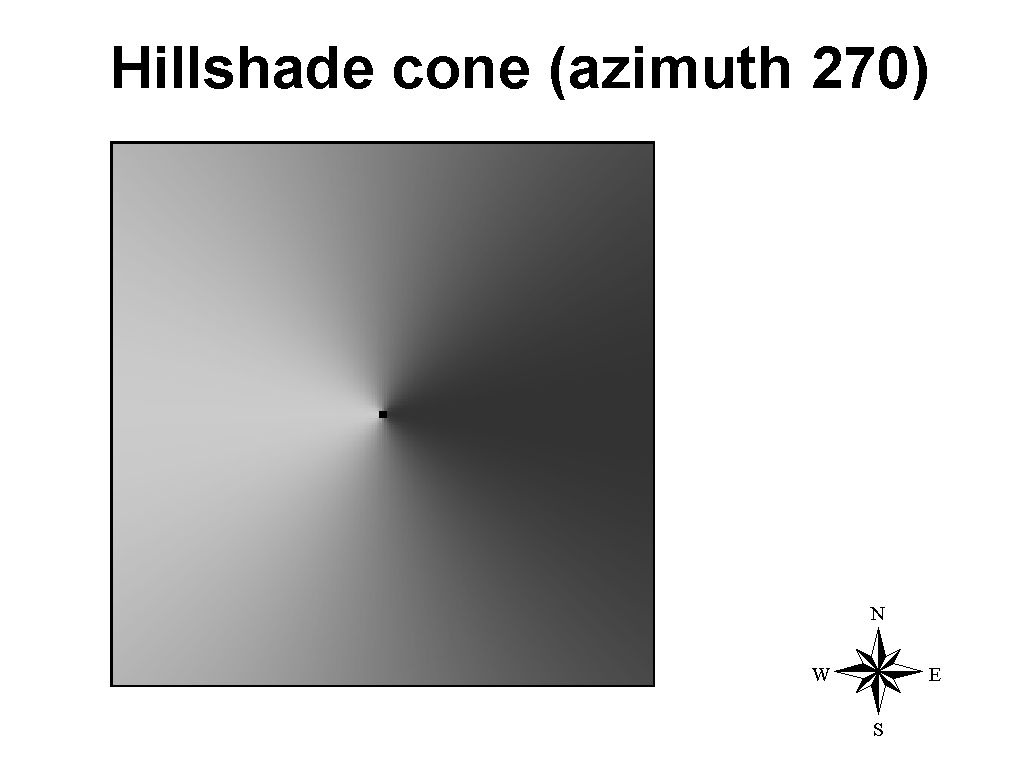
Application of Hillshade to a ConeIn ArcView 3.2, the default hillshade assigns a sun azimuth of 90; however, the default color ramp gives user the perception that the sun is at an azimuth of 270 (Figure 2). If you flip the color ramp, then the hillshade provides an image with the light coming from the specified azimuth (Figure 3). In figures 2 and 3, the elevation at the center of the cone is higher than at the the perimeters.
If you use the advanced function in the ArcView Legend Editor to specify the brightness theme, you can make the hillshade surface smoother (Figures 4 - 7). If you use this option, the perception of the source of light is consistent with the specified azimuth. However, it becomes impossible to change the appearance of the hillshade by flipping the color ramp.
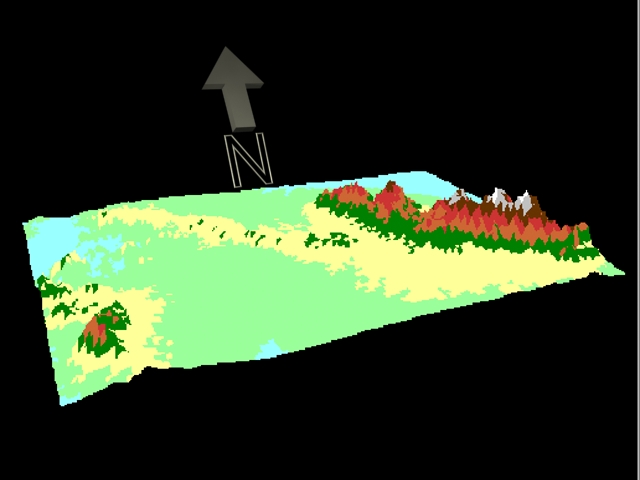
Application of Hillshade to an Actual DEMFigures 8 and 9 show the hillshade of an actual DEM with the default color ramp (Fig. 8) and the flipped color ramp (Fig. 9). The advanced function in ArcView's legend editor was not used to specify the brightness theme.
Figure 10 shows the same hillshade with the brightness theme specified. Figure 11 shows the 3D view of the SVRD area.
Procedures | Knowledge Base | Back
|
.jpg)
.jpg)
.jpg)